Week 2 Lab: Inputs and Outputs
Overview
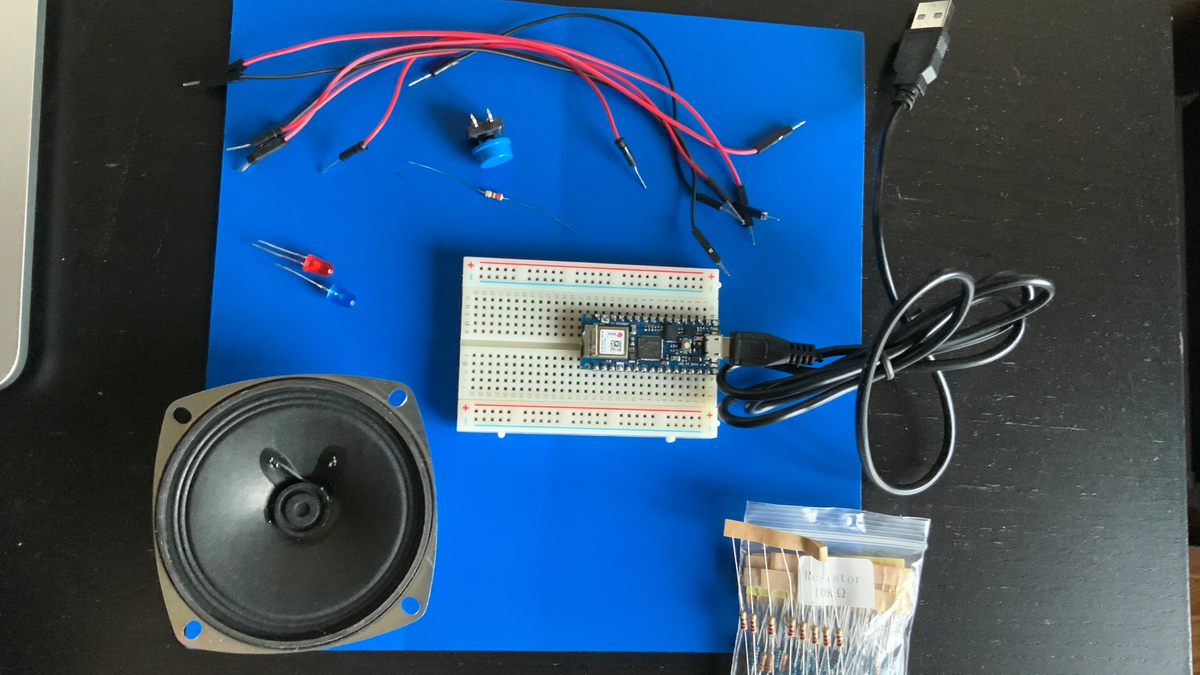
Last week I learned basic concepts of physical computing, using multimeters and switches. This week's lab is about inputs and outputs.
Digital inputs & Outputs
To sum up, I tried this part but failed. I have to find other reasons why my circuits don't work.

The pinMode() function lets you specify which pin is going to use a digital inputs or output. Also, the digitalWrite() function lets you write output to a digital pin. Since Arduino has to constantly read the state of digital input using the digitalRead() function, this code has to go inside the loop() part.

The first error that I encountered was while uploading the code into Arduino Nano 33 IoT.

After searching the error message, I found out that changing the processor to ATmega328P(Old Bootloader) can fix the issues.

However, even after I fixed the upload error, the circuits didn't change anything. Would it be some problems with the parts? I will have to dig inside this again.
Analog inputs

After setting up the analog input circuits, I found the Arduino IDE gives me the same error while uploading the code.
Another solution that I tried was removing the Arduino SAMD Boards in the Arduino board manager. Reinstalling didn't work in the first attempt, so I tried reinstalling again after deleting all the preferences. This didn't work, too.
Key Takeaways
I learned the concept of digital / analog input and output, but failed to apply them since I had issues with the Arduino Nano board. I guess this is a software issue because of some of the settings that I didn't clean up with the previous project. I will solve the board manager issue and try this lab again.