Week 3 Lab: Tone output and servo motor control
Tone outputs
Wiring sensors and speakers
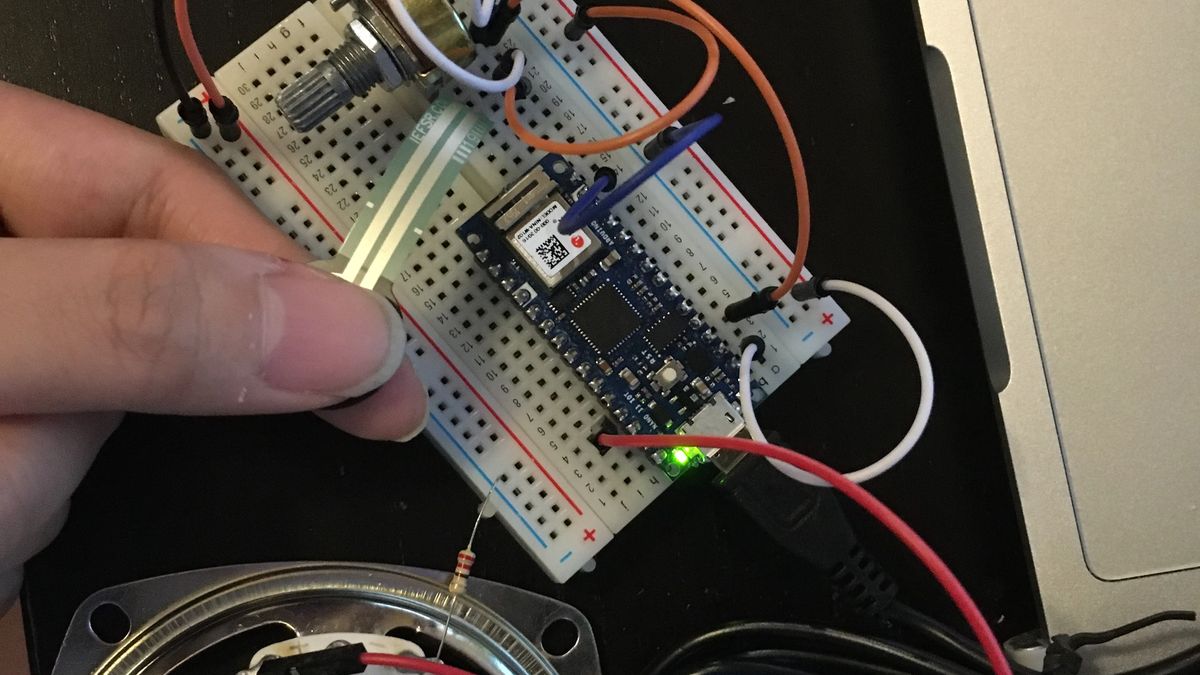
First, I connected one potentiometer and one force sensing resistor to the circuit.
After connecting the Arduino to a power source, I could hear the speaker's sound changing.
Also, I could see the analog sensor's input values ranging from 0 to 250 from the serial monitor.
Changing frequency
After changing the sound, I wanted to change the frequency, or the tone of the sound. I used the map function to map the analog input values from 0~250 to 100~1000.
Unfortunately, after uploading the code, the speaker won't play any sounds. However, the sensor and code seemed to work well because I was getting good values between 100 to 1000 in the serial monitor.
I then discovered my speaker's impedance was 4 ohm, which was different from the 8 ohm speakers in the lab example. After searching, I discovered that 4 ohm speakers required more currents according to Ohm's law. Or, I could connect two 4 ohm speakers in serial.
Unfortunately I had only one speaker which was 4 ohm, so I couldn't solve this issue. However, I learned that I can manipulate different analog inputs and convert them into analog outputs.
Servo motor control
First, I wired the sensors and servo motor. I checked the range of the force sensor - it was roughly from 0 to 500.
I also mapped the input from 0~500 to 0~179, in order to match the controls of servo motor.
Next, I modified and uploaded the servo motor code to arduino. However, the motor didn't work. I double-checked the wiring, made sure that the connections to the servo motor was firm, tried changing the servo motor to another one, but I still could not figure out the problem.